Making walls
IntroductionYou can use IFFSnooper to import images and make walls for your game. The wall graphics are stored in three SPR# resources, one for each zoom, with four frames in each resource. These three SPR# resources, along with a PALT resource, an STR# resource, and a resource map (rsmp) make up a .wll file.
1) Importing a base imageUse Import -- Wallpaper to choose an image file to start from. The base image for a wall should be 128 x 232 pixels. If your image is too big it will be cropped to fit.
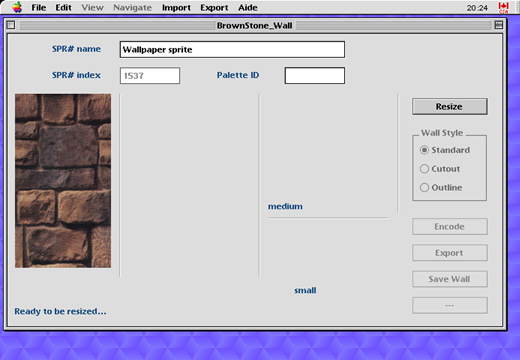
Example of an imported image (original Maxis Homecrafter image).
Use the Resize button to generate wall sprite views from the imported image. You should now see a series of sprites of different orientations and sizes. Ignore the WallStyle settings unless you want to experiment with cutouts for doors and windows.
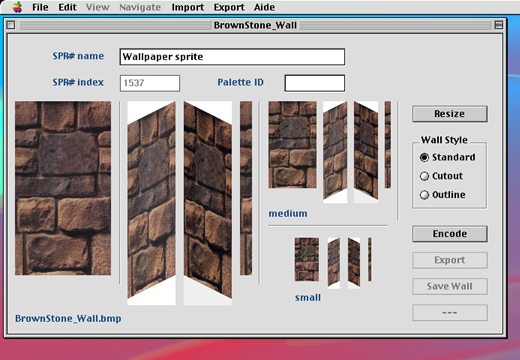
Example of wall sprites generated from an imported image.
Use the Encode button to transform the wall sprite views into SPR# resources so that they can be used in game. The white background will not appear in game. The encoded sprites are now indexed 8-bit images but should otherwise look very similar to the previous version.
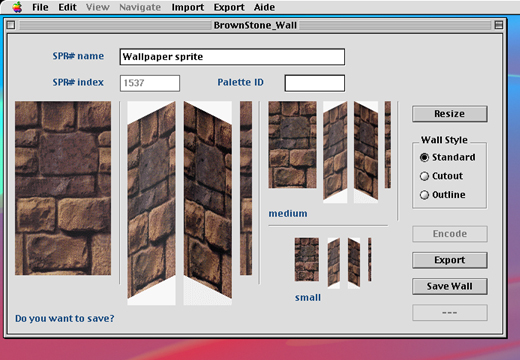
The encoded images, ready to save as a wall file.
Once you have seen what the sprites will look like, you can save the wall file using the File -- Save menu command or the Save Wall button. Don't use the Export button unless you want to save the wall graphics as individual resources.
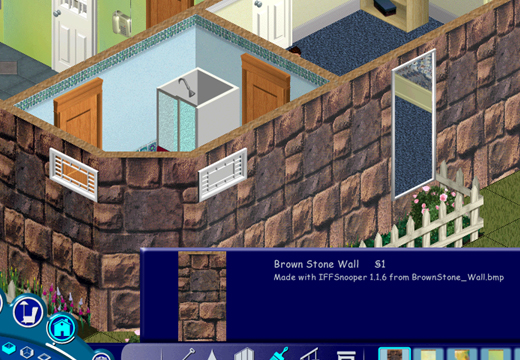
The finished wall in game.
Navigation
Making Walls